|
|||||||||
|
DISM Tool - Unmount image |
|||||||||
|
You are here: Tutorials > DISM Tool - Unmount image |
|||||||||
|
|
|||||||||
|
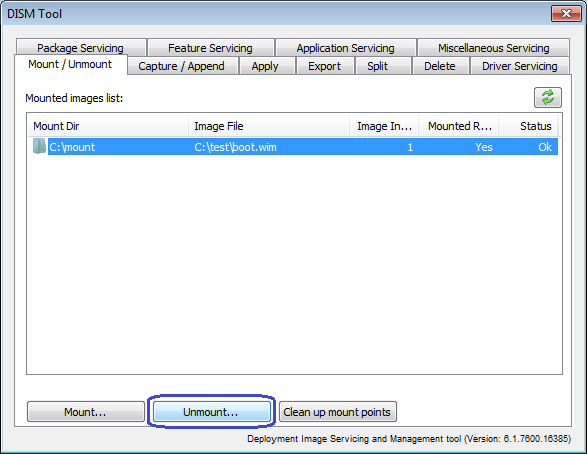
You can unmount an image using DISM tool. Depending on your selection, the changes can be saved or discarded. Step1: Select "Mount / Unmount" page, and select the mounted image from the list, then click "Unmount...".
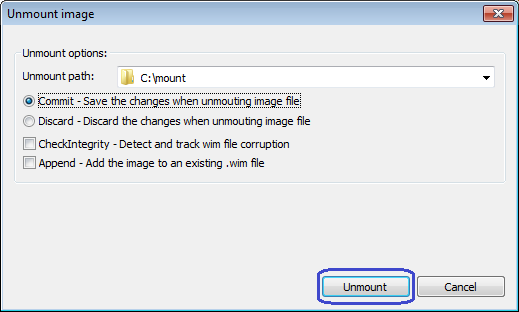
Step2: The "Unmount image" dialog will popup. The unmount path will be the mounted path you have selected, you can change it by selecting another path from the list. If you want to save the changes when unmounting the image file, please check the option "Commit", otherwise, please check the option "Discard". Below are other available mount options: CheckIntegrity: Detect and track wim file corruption. Append: Add the image to an existing .wim file. Click "Unmount" to start unmounting image from specified directory.
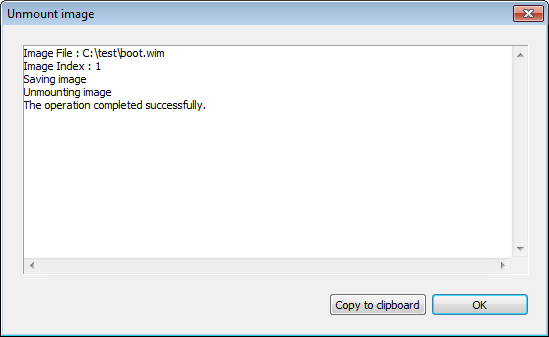
After the image has been unmounted successfully, you should get the message, "The operation completed successfully". Click "OK" to close the message box. The image will also be removed from the mounted images list in "Mount / Unmount" page.
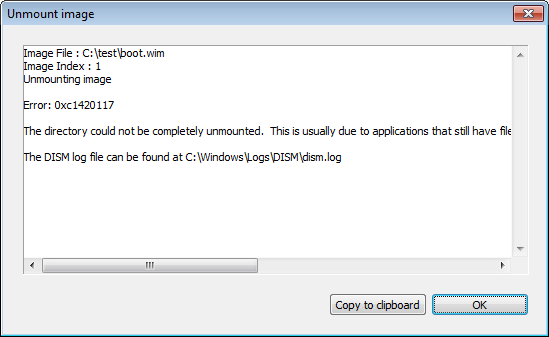
If some files in mounted directory are opened by other application when unmounting the image, you should received the below error message, The directory could not be completely unmounted. This is usually due to applications that still have files opened within the mount directory. Close these files and unmount again to complete the unmount process. In such case, please close all files in mounted directory, and if possible, close all Windows Explorer, and try unmounting the image again.
|
|||||||||
|
Copyright 2004-2025 PowerISO.com All rights reserved. |
|||||||||