|
|||||||||
|
DISM Tool - Mount WIM File |
|||||||||
|
You are here: Tutorials > DISM Tool - Mount WIM File |
|||||||||
|
|
|||||||||
|
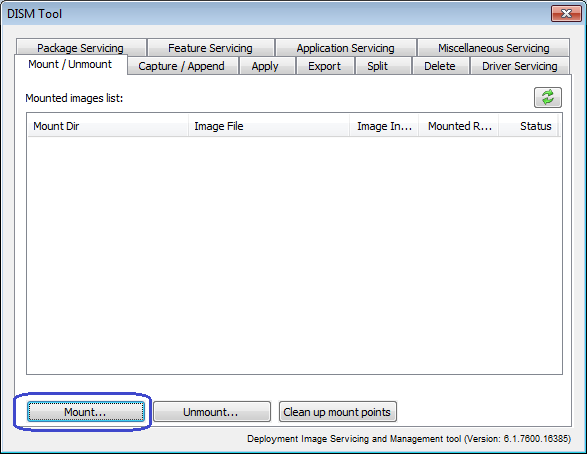
DISM Tool can mount a Windows image to the specified directory, so that it is available for servicing. To mount WIM file with DISM Tool, please follow the steps, Step1: Select "Mount / Unmount" page, and click "Mount..." button.
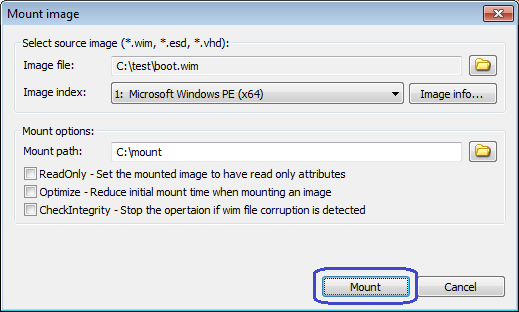
Step2: The "Mount WIM" dialog will popup. Click "Browse" button to select the image file you want to mount, which can be a Windows image file (*.wim) or Virtual hard disk file (*.vhd or *.vhdx). An image file can include one or multiple images, you need select an image from the image index list. You can view image file detailed information by clicking "Image info...". Select an empty folder for the mount path. If it doesn't exist, please create it before mount. Below are other available mount options: ReadOnly: Set the mounted image to have read only attributes Optimize: Reduce initial mount time when mounting an image CheckIntegrity: Stop the operation if WIM file corruption is detected Click "Mount" to start mounting image to specified directory.
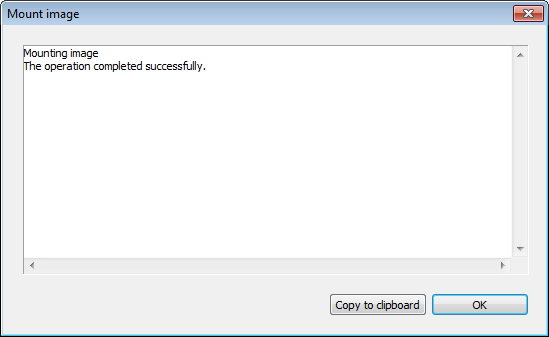
After the image has been mounted to the specified directory successfully, you should received the message, "The operation completed successfully". Click "OK" to close the message box.
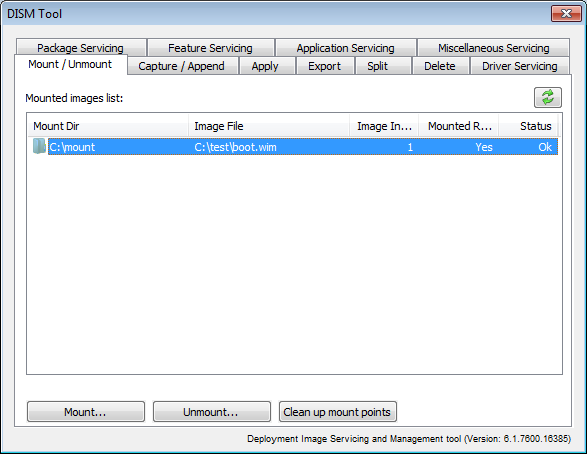
The image will be available at the specified directory for servicing. You can also view all mounted images from the mounted images list.
|
|||||||||
|
Copyright 2004-2025 PowerISO.com All rights reserved. |
|||||||||


