|
|||||||||
|
DISM Tool - Package servicing |
|||||||||
|
You are here: Tutorials > DISM Tool - Package servicing |
|||||||||
|
|
|||||||||
|
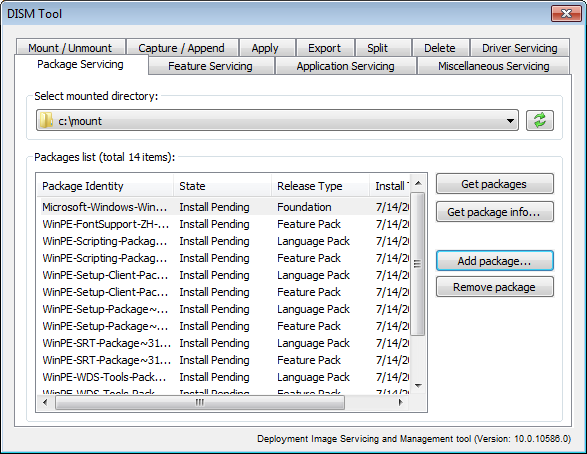
DISM Tool can manage packages in a Windows image. With DISM Tool, You can list packages in image, get detailed information about a package, add packages to a Windows image, or remove packages from a Windows image. Before you can manage packages in a Windows image, you need first mount image to a directory. To save the changes you have made, please unmount the image. To manage packages in a Windows image, select "Package Servicing" page, and then select the mounted directory from the list.
Below are the available functions for package servicing, Get packages: Display information about all packages in the image. Get package info: Get information about a specific package in the image. You need select a package first from the list. Add package: Add packages to the image. Remove package: Remove packages from the image. You need select a package first from the list.
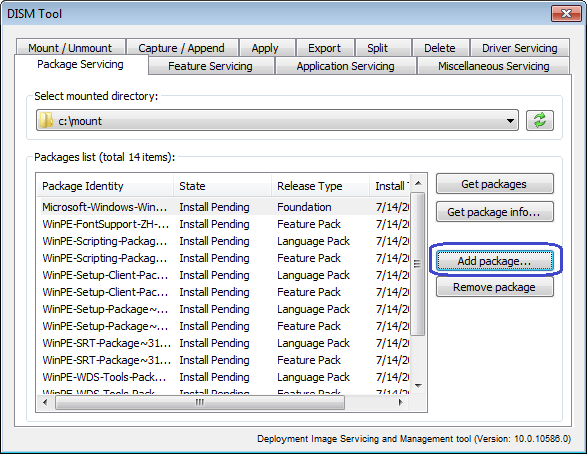
To Add packages to the image, please follow the steps, Step1: Select mounted directory in "Package Servicing" page, all packages in the image will be listed. Click "Add package...".
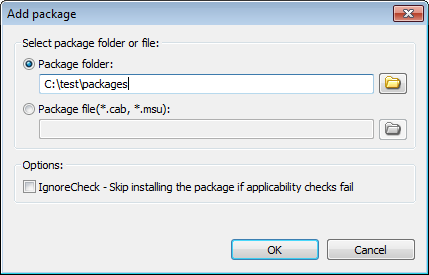
Step2: The "Add package" dialog shows. The package source can be a folder containing package files or a package file (*.cab or *.msu). Below are other available options, Ignore Check: Skip installing the package if applicability checks fail. Click "OK" to add selected packages to the image.
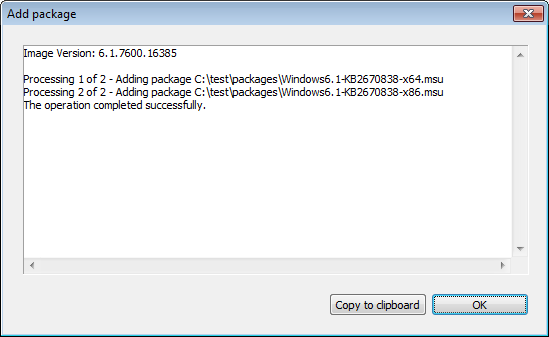
You will get the result message after the operation completes.
|
|||||||||
|
Copyright 2004-2025 PowerISO.com All rights reserved. |
|||||||||


